Installation
Important
These instructions were originally written for Java 8/Tomcat 8. Tomcat 9+ and Java 11+ is required, and step-by-step instructions may not yet reflect this change.
Java 11
Install the latest release of Java 11 JDK. You may use the default destination folder.
Apache Tomcat 9.x
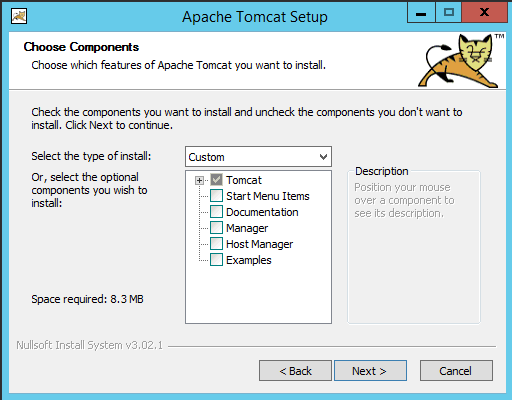
Install the latest release of Apache Tomcat 9.x. You can use the 32-bit/64-bit Windows Service Installer. When prompted to choose components, uncheck all optional components and install only the base “Tomcat” package.
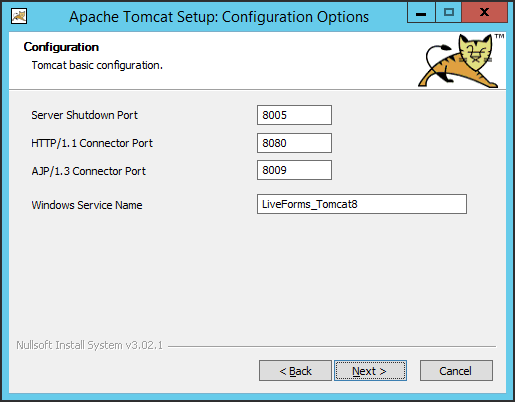
If desired, adjust the default port numbers and change the service name to “LiveForms_Tomcat9”.
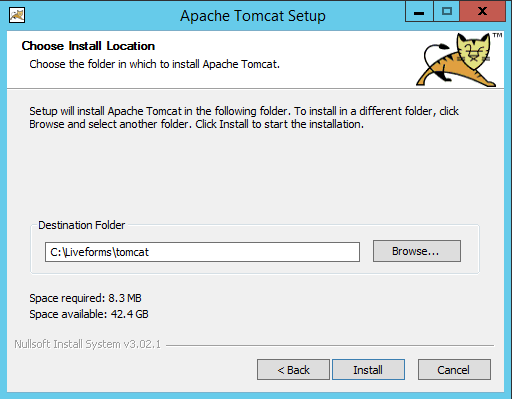
Choose an installation path such as “C:LiveFormstomcat”.
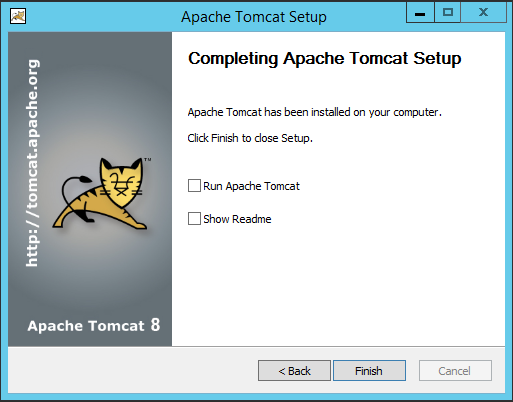
Before clicking to finish the installation, unselect the “Run Apache Tomcat” and “Show Readme” options on the last screen.
SQL Configuration
Using MySQL or MS SQL Server, create a new empty database owned by the account which you will have the LiveForms product connect with. If using MySQL, set the database encoding to UTF-8.
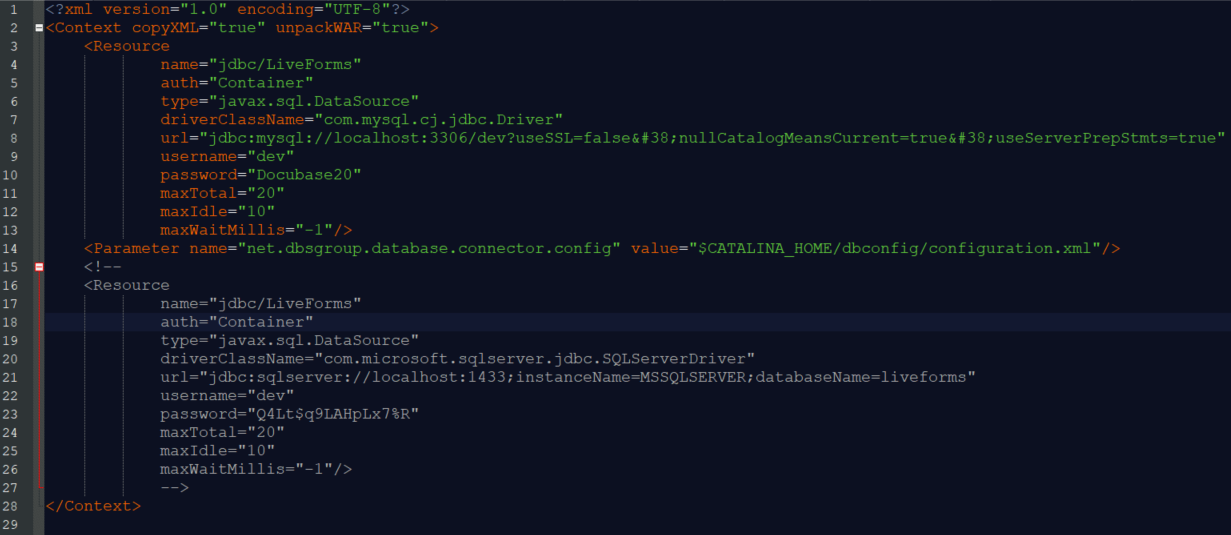
The first time you run LiveForms it will place a context XML configuration file at tomcat/conf/Catalina/localhost/liveforms.xml. Please configure your database connection there.
Note
username and password must match a user you set in your database. The driverClassName depends on the library used for your database. A list of class names can be found on this site.
Additionaly you will need to get the database connector library associated with your database and place it into the directory tomcat\lib\.
Tomcat Deployment
Copy liveforms.war to “tomcatwebapps” to deploy the application. If Apache Tomcat is not already running, start the service now. Tomcat will detect the liveforms.war file and automatically initialize the application. If the database configuration was done correctly, you should be able to access the liveforms application via the web within a minute of deploying it. If not, check your tomcat/logs folder for any error messages related to your database connection.